The ONA Prince Street may be the end of my search for the perfect bag for my Leica. I could fill a closet in my house with discarded camera bags. This is just the perfect size for my Leica gear. Not to big and not to small. To save you a trip to the Ona web site here are the specs.
- Exterior dimensions: 12.5"L X 10"H X 4.5"D
- Interior dimensions: 12"L X 9"H X 4"D
- Weight: 3.3 lbs
The leather Prince Street comes in Dark Truffle and Antique Cognac. Both are nice looking bags. I chose the Dark Truffle because although I like black camera bags I wanted something just a little different.
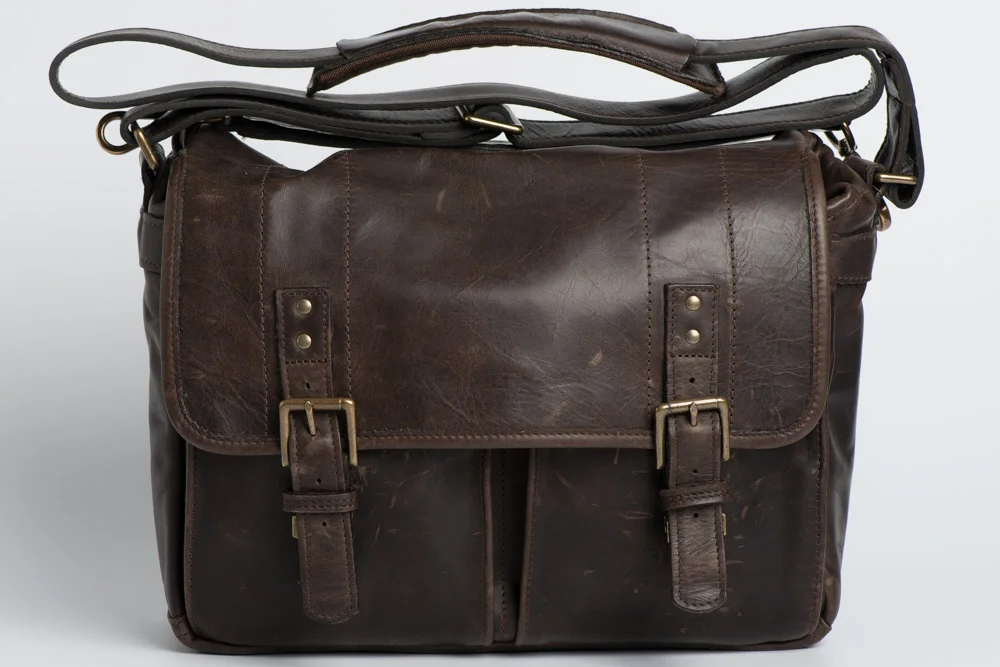
ONA Prince Street - Dark Truffle

Buckle Snapped in Place
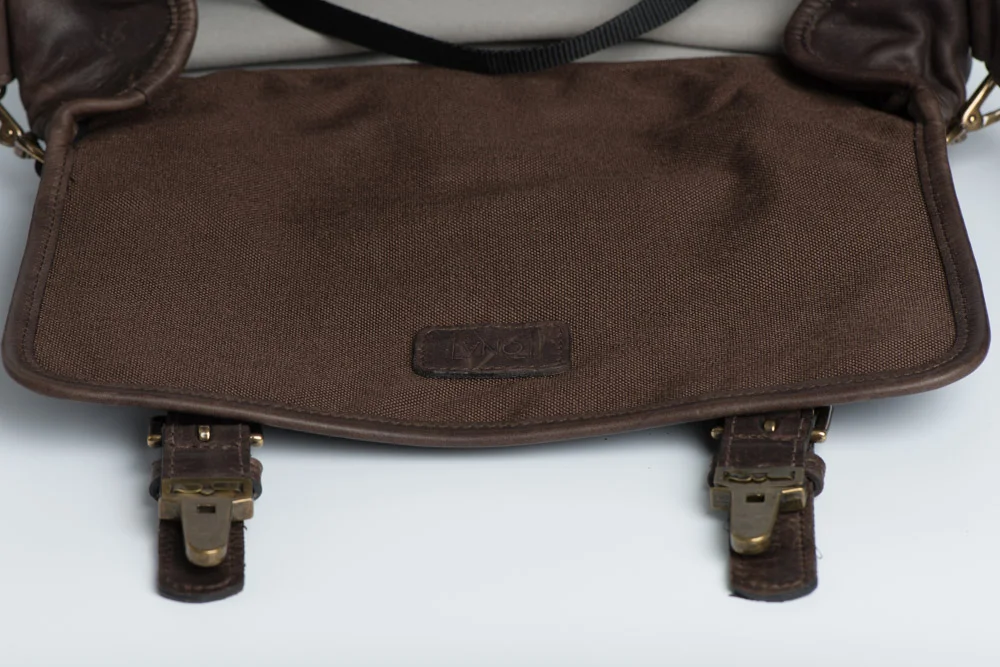
Ona bags use buckles instead of Velcro to secure the top flap. This makes for a much quieter bag in use. Opening pockets on a camera bag is something that is repeated many times a day and I personally get tired of hearing Velcro being ripped open. The latches take a little getting used to but seem secure.

Adjustable Buckle
The cover is secured in place by two brass buckles. They are adjustable so that as the amount of equipment that is being carried changes you can get just the right fit for the cover.

Top of Strap Pad

Bottom of Strap Pad
The shoulder pad is 8 1/2 x 2 3/8 inches. It slides freely on the strap for best comfort. I would like it to be a little thicker, but it has a nice feel. Some rubber stitching on the underside would help as it has a tendency to slide off of my shoulder.

Hand Strap
At first use I did not like the hand strap. It was just to stiff. But after a couple of days of use it has really softened. Just the normal use of the strap has broken in the leather that it is now soft to the touch and comfortable.

Bottom Detail
The workmanship on the bottom of the bag is what you would expect for a bag in this price range. The bottom of the bag looks as nice as the top. It is details like this that should insure that I will be using my Prince Street for a lot of years.

Side Detail
Nice touch having to their name stamped on the side.
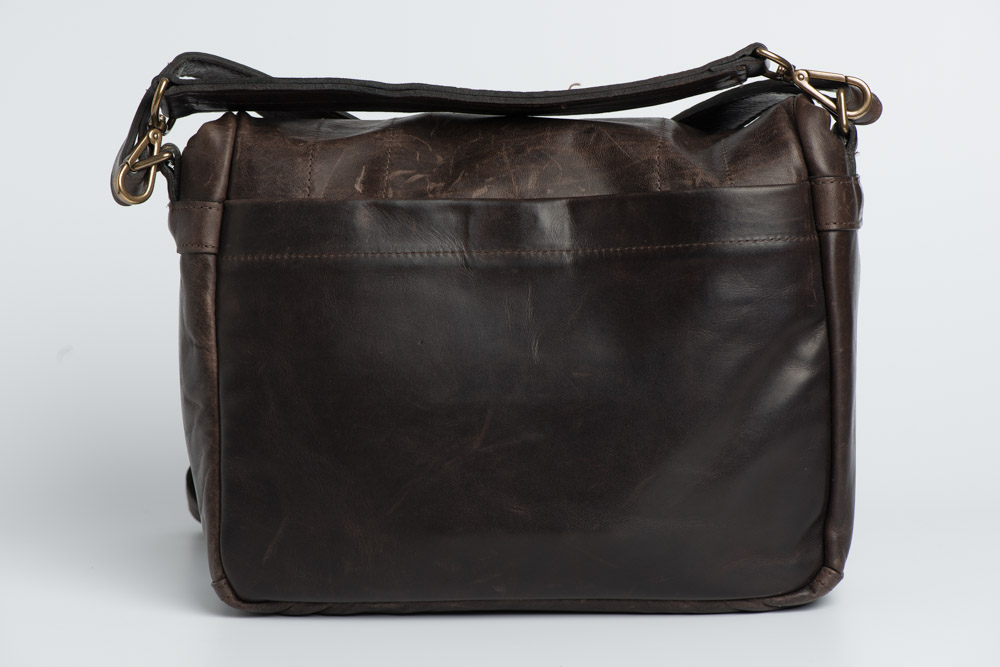
Back

Pocket Magnet
The back pocket goes the entire length of the bag and is much larger than it appears. I have been carrying my Leica Tabletop Tripod, Moleskine and a Xrite ColorChecker Passport in the back pocket. The pocket is deeper than expected. You can just make out the outline of the magnet that is sewn into the back pocket. This little touch is handy, it keeps everything from sliding out if the bag falls over when placed on the ground. Again, no annoying Velcro.

Back Pouch
I don't go anywhere without a Moleskine.
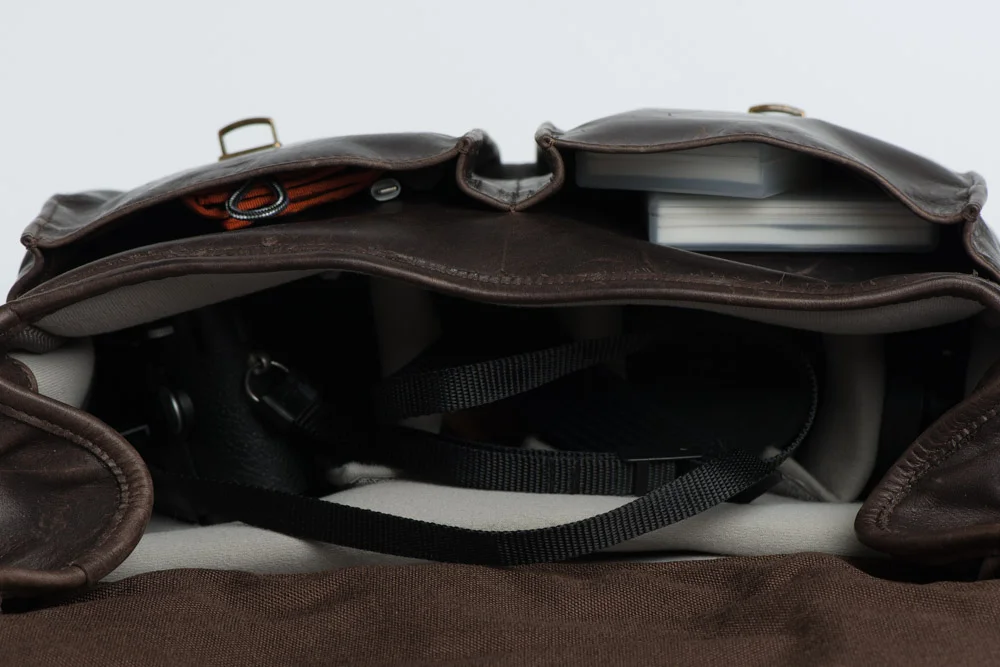
Top Flap
Here is the front flap laying open. At the top of the photo you can see the tabs that fold over to seal the bag and keep dust and rain out. The bag isn't waterproof but this helps protect the equipment.
Front Pockets

Front Pocket Detail
There are two pockets on the front under the top cover. They are not large but this is a small bag after all. I have been able to put all of my small gear from my previous bag in my Ona. When I want to carry my iPhone in the bag I just lay the filter cases under a lens on the inside.
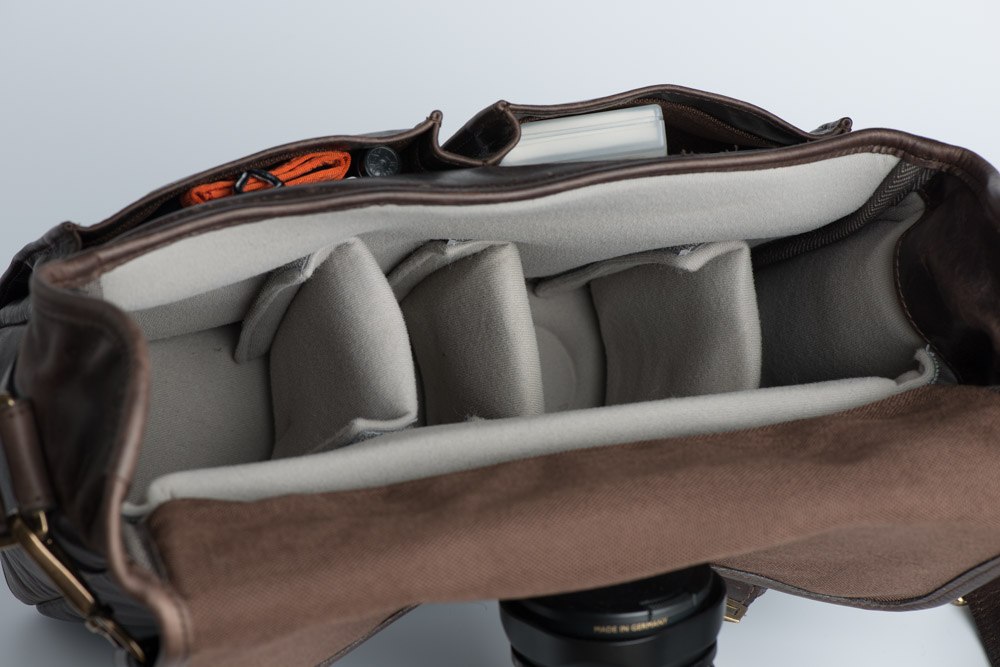
Prince Street Inside
I carry a Leica M (240) with lens and three other lenses and I can still hide a battery and other small gear inside this bag. I like the neutral gray padding. The Ona Berlin bag that is very similar to the Prince Street has a red interior. Personally I hate the look of the inside of the Berlin bag.

iPad Pocket
For such a small bag it is impressive that Ona found room for an iPad inside of the bag. This is the 9.7 inch iPad Pro and it fits perfectly. I carry the Lightning to SD adapter in the front pocket so that I can post to my web site while on location.
I'm very happy with this bag. It holds all of the gear that I shoot with on a regular basis and looks great. And the more I use this bag the more worn it will look and that is part of the appeal to a leather bag. It is roomy on the inside and the equipment slides out easily. A $400 camera bag is not for everyone, but hey, I'm shooting with a Leica. Sometimes in life you just throw logic out the window and get what your heart wants.