Stand for photography printer - Epson P800

I recently replaced my Epson 3880 with the newer Epson P800. Before the printer arrived I started a search for a proper stand. The P800 weighs 43 pounds is a large printer measuring 26.9 x 14.8 x 9.9 inches. An old card table is just not going to be sufficient to support such a large printer. I also wanted drawers for storing paper, ink, and extra supplies. 

Epson P800 with Seville Classics Cart

Epson P800 with Seville Classics Cart

A google search provided no satisfying results so I next tried Amazon. After a lot of false starts and dead ends I gave up. I wanted a sturdy stand that seemed durable and and was just a bit bigger than the printer. I have gone through lots of printers at home and where I used to work and the thing that always bothered me was when the stand would shake when the printer was doing its business. Also I wanted a stand with wheels so that I could move the printer between workstations when needed. while walking through Wal-Mart I noticed tool chests in the hardware department. Back to Amazon to look at tool chest. No lunch again, so I decided to try Wal-Mart.com. I was just about to give up when I came across what looked like the perfect stand. 

stand-4.jpg

The stand I settled on is made by a company called Seville Classics. It is a tool chest in their Ultra HD series. The chest measures 28" W x 25" D x 34.5" H and weighs 109 pounds. It is a solid well built piece of hardware. As they some assemble is required. It took about 2 1/2 hours to assemble the cabinet. The model I purchased is the UHD20225B. There are 2 other models that are similar, they just have different door configurations. 

stand-3.jpg

As you can see the Epson P800 fits perfectly on the top of the stand with plenty of room on the front and the back for extending the printers doors. The sides are metal and I have been using them as a note boards by attaching post-it notes. I have also stuck a magnetic digital thermometer on the side that also shows the humidity for the room. The wheels are large and roof smoothly even on carpet. The bottom corners have rubber bumpers to protect the surroundings when moving the cart. A large grab bar extends across the front of the unit. 

stand-2.jpg

My Seville Classics printer cart is one nice printer stand that is a great addition to my post processing workflow. It’s not cheap, around $250, but I am very happy that I have it in my studio.  

Leica WLAN Function - Leica M10 WiFi Transfer

Info on the new Leica FOTOS app which replaces this article can be found here.

Info on the new Leica FOTOS app which replaces this article can be found here.

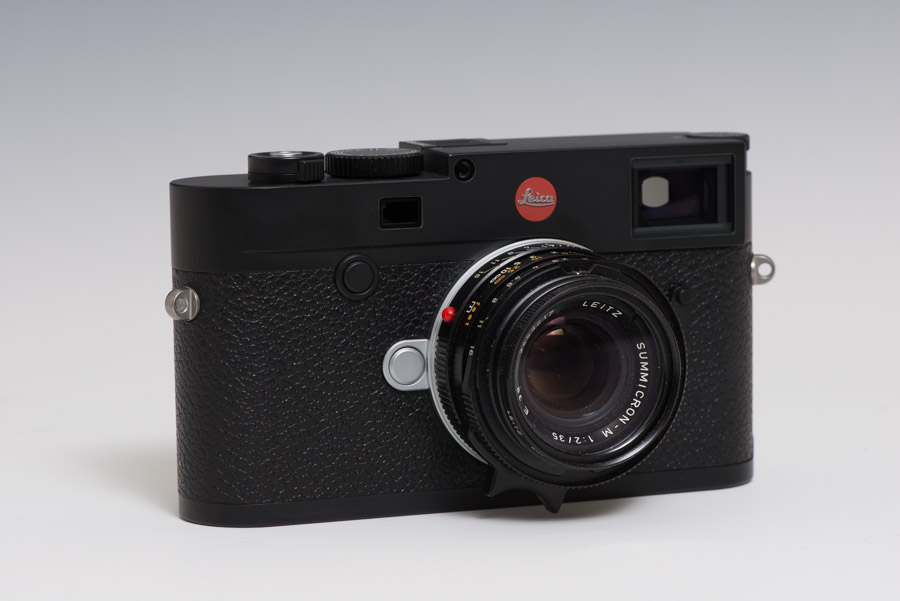
When Leica introduced the M10 in January of 2017 most of the updates to the camera were refinements of existing features. One of the new features was designed to address the needs of the Instagram age. With the ability to create or connect to a WiFi network Leica has added the ability to the M10 to transfer and upload images to an iPhone or IPad so the images can be transferred to a social media platform or sent to a recipient while still on location without the need of a computer. The M-APP is a native iPad program and works great.

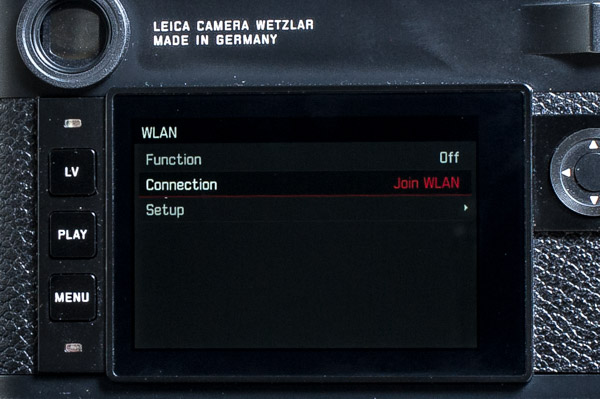
There is no external WiFi button on the camera to turn on wireless networking. But since the M10 has the ability to make a “Favorites” menu there is no need to dive through all of the menu options. To activate the WiFi press the “Menu” button and scroll through the options to select the “WLAN” function. In the sub-menu switch function to on, in the same sub-menu select connect, and there either “Create WLAN” or “Join WLAN”. The “Create WLAN” is the easiest as this creates a WiFi network for a direct connection to the M10.

Network Set-up

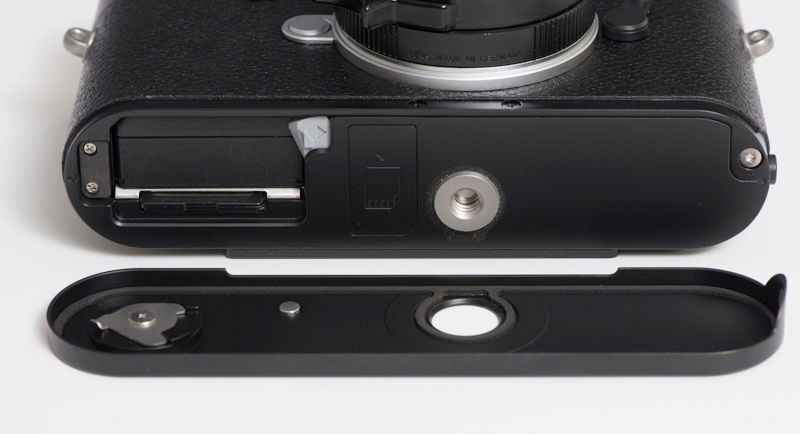
The connection has to be set-up prior to actually creating the network. In the WLAN sub-menu, enter the camera name in SSID/Network Name (if desired). This is done in a keyboard sub-menu, exactly as described on p. 190 of the manual. Enter a network password at Password (if desired). This is also done in a keyboard sub-menu, as described.

Once the Leica M10 is ready to transfer images go to your smart device and select the cameras WiFi network that you have created. Launch the M-APP that can be downloaded from the Apple APP store or from the Google store. In the screen that is presented you will be asked if you wish to connect with the cameras network. Click yes and after a short time the app will connect. As a reminder the password for connecting to the camera WiFi network is easily retrieved, it is stored in the WLAN sub menu under the network name so that you can’t forget the password. 

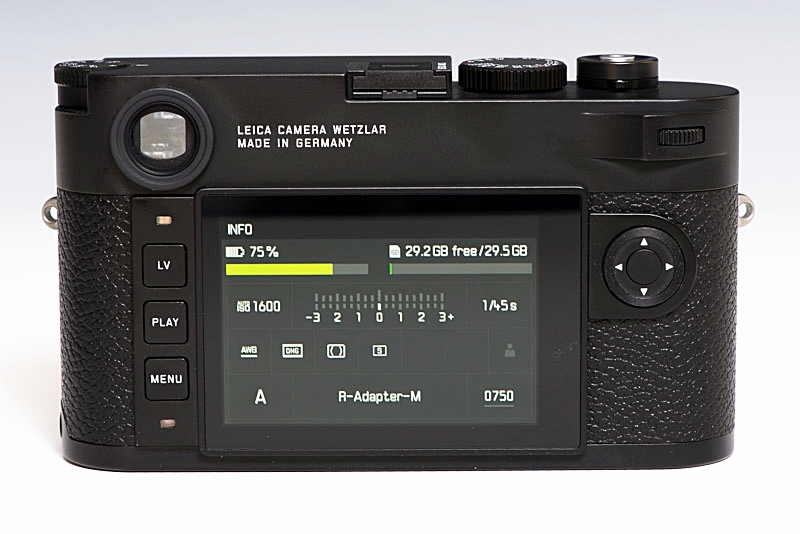
Once connected to the camera you have 3 options for operating the camera. There is a Live View that enables you to take photos from a tablet or phone. You can browse the images on the camera and transfer them to your device.  And there is a wide range of settings that can be adjusted on the camera. 

Being able to transfer images from the M10 to a smart device is one of the useful features that Leica has added. The app is stable and very responsive. As expected using the WiFi feature does drain the battery faster, so you might want to keep a spare battery handy. 

The WLAN menu on the Leica M10

The WLAN menu on the Leica M10

use “Function” to turn the WLAN feature on

use “Function” to turn the WLAN feature on

creating a network

creating a network

joining a networknext go to your smart device and select the Leica camera network

joining a network

next go to your smart device and select the Leica camera network

launching the M-APP

launching the M-APP

tap to search for the camera

tap to search for the camera

tap to connect to camera

tap to connect to camera

live view from the Leica M10

live view from the Leica M10

displaying images on the camera

displaying images on the camera

customizing the camera and transfer settings

customizing the camera and transfer settings

tap to disconnect

tap to disconnect